
|
Videos and helpful resources
It's week Six!!!! How quickly did that go?
This week we are putting the quilt top together and I will say Team Grid do have a slightly easier job. But don'y worry team matrix it's not too bad (I promise). Useful Docs: Quilt images for quilting plans PDF Grid Quilt - click here PDF Matrix Quilt - click here |
Wow we are nearly there!!!
This week it's all about putting the quilt tops together, so you can take all of those blocks you've made and sew them together to get that real WOW moment of seeing your hard work come together.
This week it's all about putting the quilt tops together, so you can take all of those blocks you've made and sew them together to get that real WOW moment of seeing your hard work come together.
|
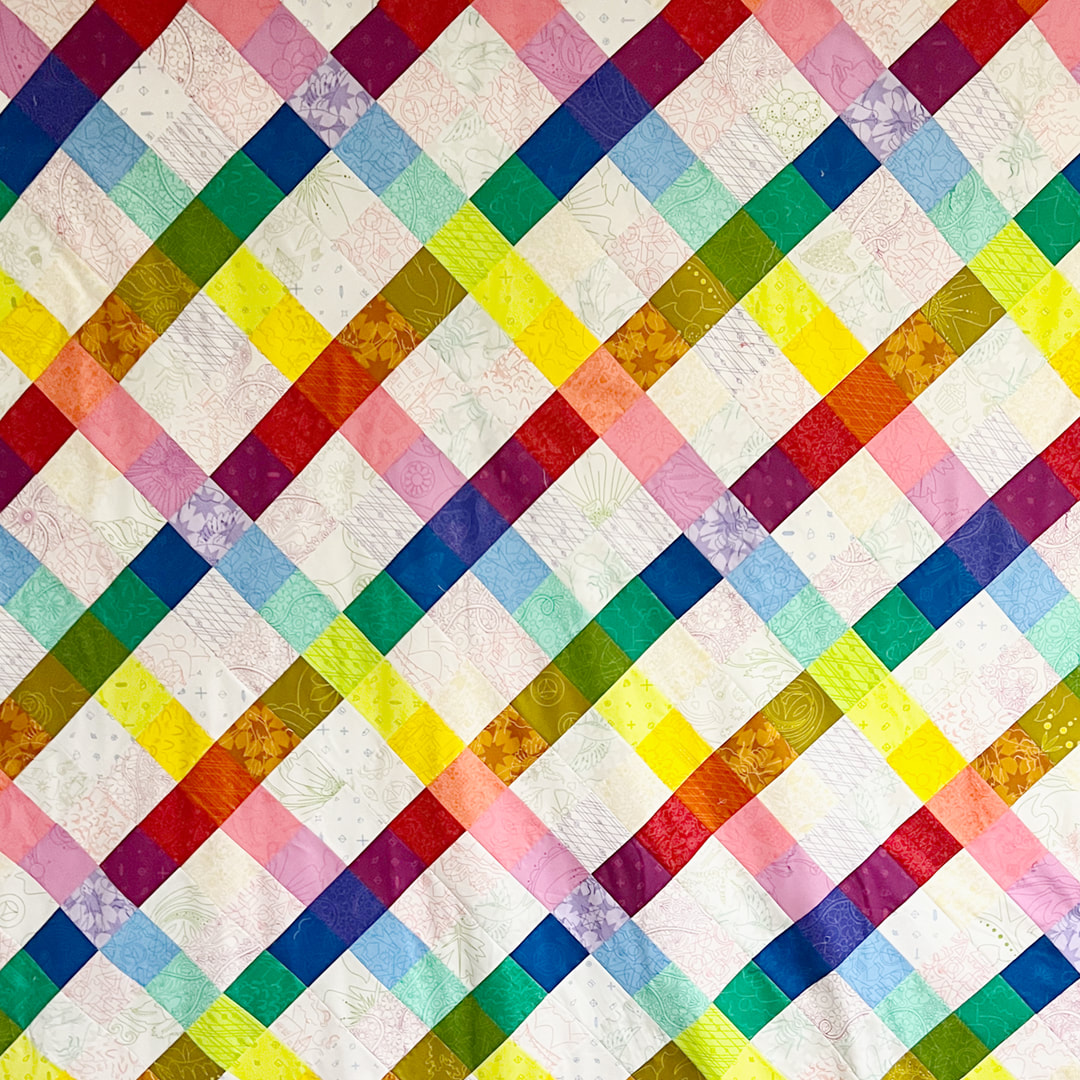
Team Matrix
Because the blocks are on-point (diagonal) you will put your quilt together into diagonal rows. In reality they are normal rows of squares but then they have triangles at the end, so when the rows are sewn together they will become an on-point square. Take time to match the seams and I would definitely use the double pin method on those open seams to keep them where you want them. Team Grid You've sent quite a few weeks now making the same blocks and now it's time to see them all together. You can follow my layout or you can try something different. To get the design looking right remember to rotate the blocks and spread out the colours. Once you have a layout you like, it's simple to sew your blocks together. There are no seams within the blocks to match, just the block joins, so if you need to you can give a block a little stretch to fit if needed. TIP for both: After laying out the quilt take a photo. I have no idea why but I can stare at a lid out quilt and see no mistakes, but one quick look at the photo and I immediately see the mistake. |
|
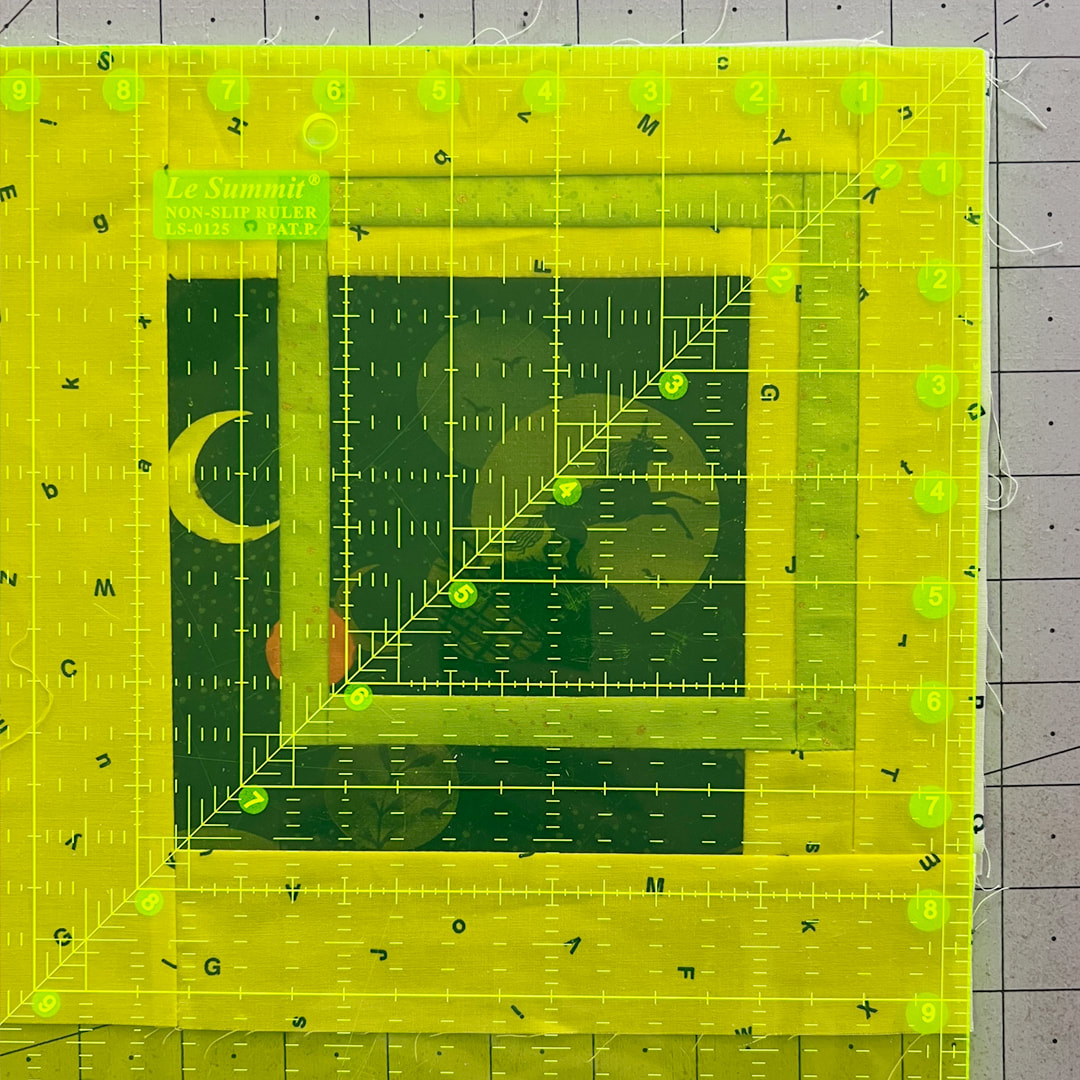
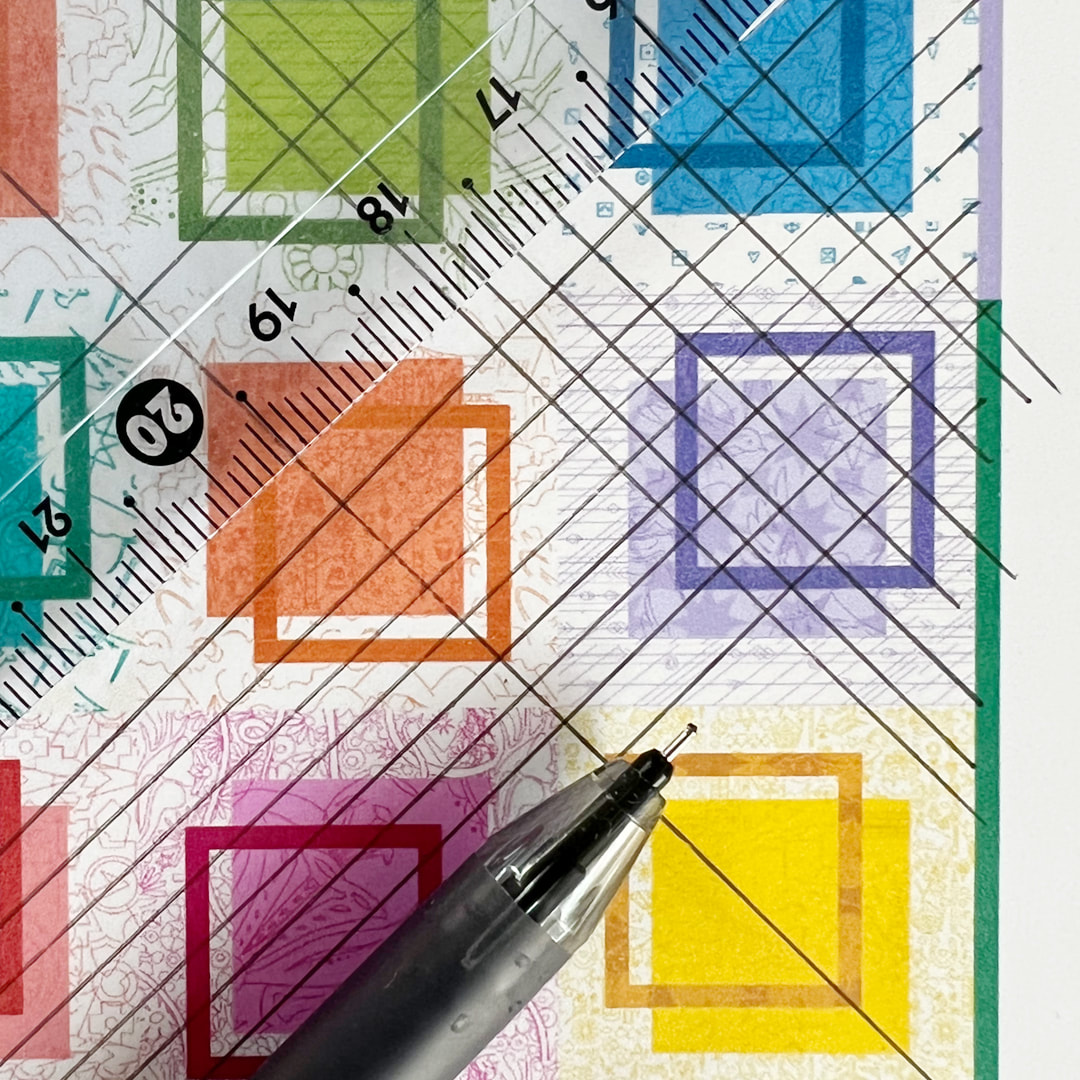
Team Grid - Need to trim your blocks?
Your blocks should now be 9 ½" square (unfinished size). If they are ever so slightly different sizes (1/8th inch) then I wouldn't trim, you will be able to stretch out this difference. If you find you've got quite a bit of variance then you can trim them. I trimmed my blocks for the Going Live baby version, I trimmed them all to 9 ¼" so they would go together a bit better, I have to admit I was slightly rushing when I made them and hadn't concentrated that much, oops! How to trim. Ideally you will need a large square ruler. Place the block so that the frame is in the top right corner and then place the ruler so that the diagonal line goes all the way through the block, hitting the bottom left of the frame. Move the ruler so that you are trimming off the tiniest amount, trim off the top and right side. Turn the block around and place your cut lines on the 9 ¼" measurements, lining up the diagonal again before trimming the last two sides. |
|
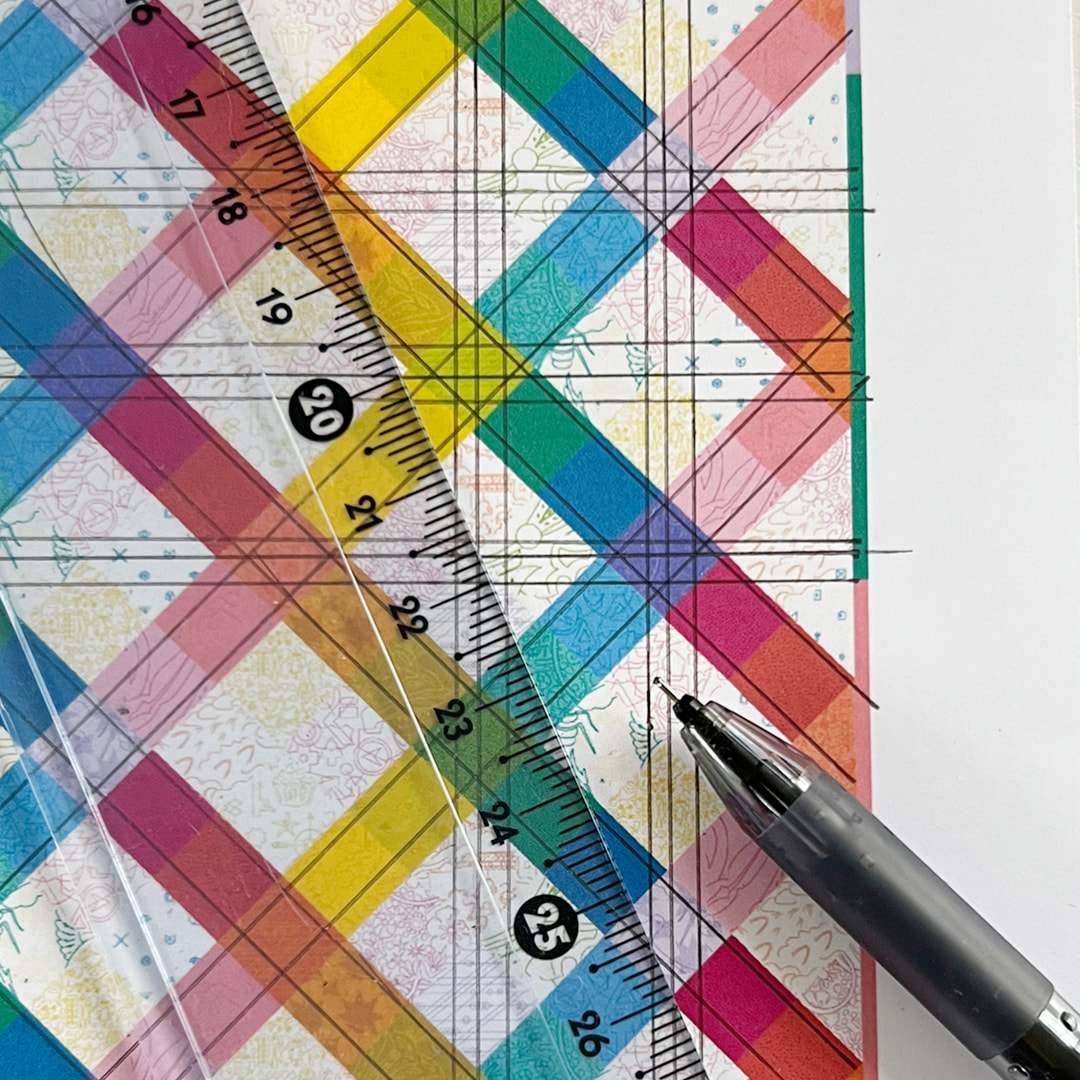
Thinking ahead to quilting
We purposefully choose not to include a week for quilting as in my experience finishing a quilt top and actually quilting it, do not always happen closely together. Some of you may be ready to jump on in and get quilting, others may want to send it off for long arm quilting and some of you will pop it away in a draw until the inspiration and motivation take hold. So if you are ready here are a few tips
|
Remember to post your photos using the #RainbowremixSAL and tag me @paulasteel.quilts and Lisa @modernquiltclub so we can share in your achievements and spread the encouragement.
Good luck with the block making :) Can't wait to see your finished tops!
Good luck with the block making :) Can't wait to see your finished tops!